Prepare the Drive
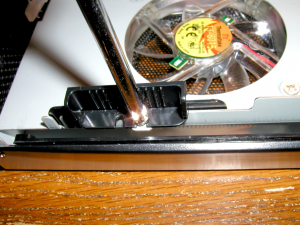
First, we’ll need to remove both of the holding pins from the enclosure.
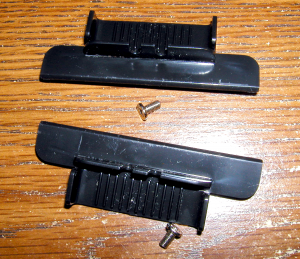
Once you’ve got both sets removed, keep ’em handy:
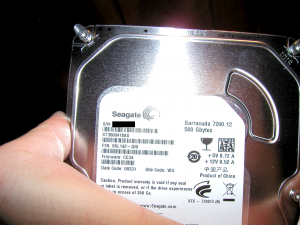
Here’s a rather crummy shot of the hard disk. My camera is notorious for misbehaving at the worst possible time.
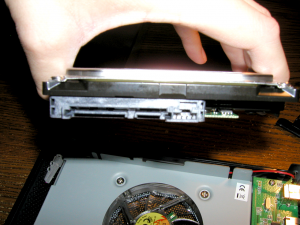
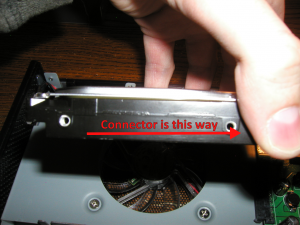
Anyway, as you can tell from the image, this is a standard run-of-the-mill SATA hard disk. If you purchased the Thermaltake enclosure I linked to at the beginning of this article, this is (quite obviously) the type of hard disk you’ll need. Make sure to keep the hard disks connectors (show below) facing toward the electronics of the enclosure.
Here’s the disk I selected. It’s a 500GB (~465GiB) Seagate Barracuda. Whatever you do, do not get one of their SV35.3s. They’re designed for video surveillance and have a high failure rate. Newegg had these particular ones on sale for about $50 (give or take). That’s around 10GB (~9.3GiB) per dollar. I don’t think it’s very easy to beat that kind of deal!
When you’re ready to install the disk, make sure it’s oriented like this:
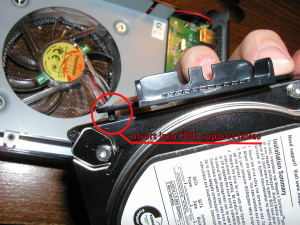
Then, start attaching the holding pins:
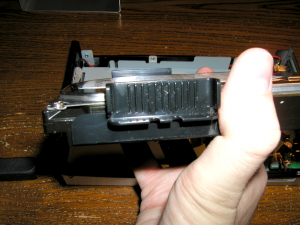
Here’s a shot with both pins attached:



Leave a comment