Flip Your Lid
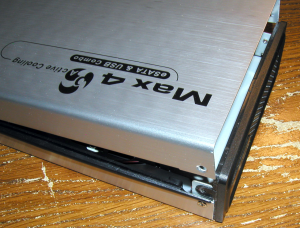
Once the screws have been removed, you can start removing the cover. Start by lifting up one edge and rotating it as if it were hinged:
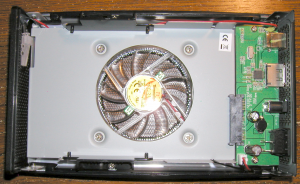
With the cover now removed we can see that most of the unit is an empty void. In the center is a standard 80mm case fan and the interface electronics are to the right:
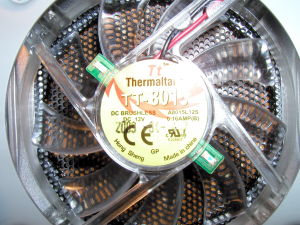
Here’s a close-up of the fan:
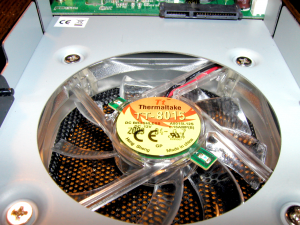
And an oblique view of the fan looking toward the SATA data and power connectors to which the drive will attach.
Observation: Thermaltake’s design uses a standard 80mm case fan. The beauty of this particular design is that the fan can easily be replaced if it should ever fail. I haven’t taken it apart to examine how it is connected to the circuit board, but I’d imagine with a soldering iron and some solder, it’d be trivial to splice a new fan into place should this one die.
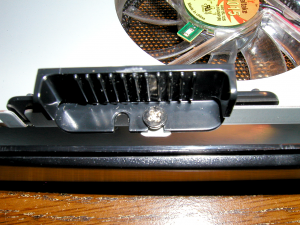
Here’s a shot of both the fan and the curious mechanism used to hold the drive in place. This is the outside of the drive rail.
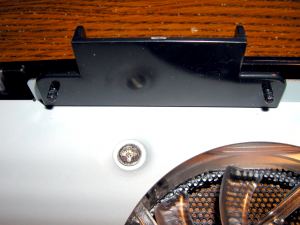
And here’s a shot of the inside. Notice the two pins facing in?
Those two pins will be inserted into the mounting holes of the hard disk.



Leave a comment