I recently acquired a Thermaltake USB 2.0/eSATA External Drive Enclosure and it compares favorably to the previous one I put together.
Assembly of this unit is fairly straightforward but there are a couple of non-obvious snags that some of the product reviews didn’t cover. However, you have me to give you another step-by-step guide.
Getting Acquainted with the Unit
I didn’t have my typical workbench at the ready, so all of these shots are from my (old!) computer desk. It’s pretty worn out on the surface. But hey, it’s simulated wood–who cares? It does the job. Oh, and lighting is pretty unfavorable in these shots…
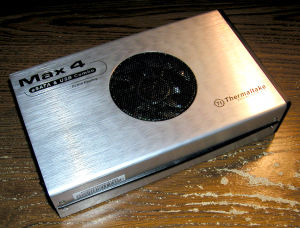
Here’s the “top” view of the enclosure:
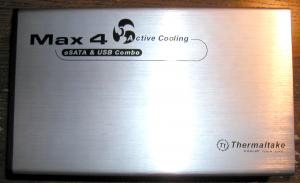
…and the “bottom:”
The “bottom” of the enclosure will be the plate we remove to access the internals. This is also the top of the hard disk once we slide it in place. But first…
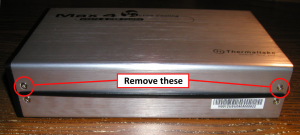
Remove these screws and the two on the opposite side of the unit (not shown). I’m pretty sure you can figure out which. :)


Leave a comment