Almost Ready to Install
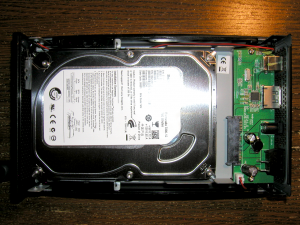
We’re almost ready to install the drive. Here’s a shot of it sitting comfortably in the enclosure. I haven’t yet connected the data and power to the drive:
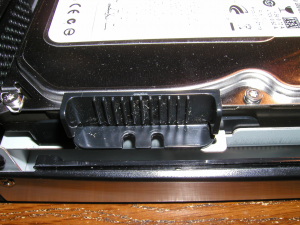
And here is a close up of the holding pins. Notice that the hold for their mounting screw is still about a half inch to the right.
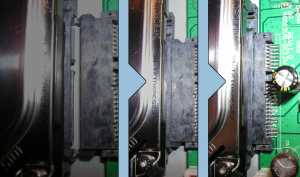
Now we’re ready to slide the hard disk into place. Here’s a composite image showing the hard disk’s connector as it is nudge into position over the enclosure’s SATA and power connectors:
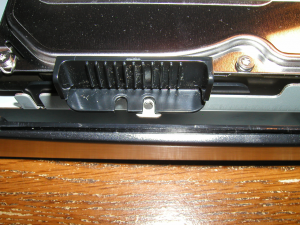
With the drive connectors secured, the enclosure’s rails have now lined up for the mounting screws to be added and tightened:
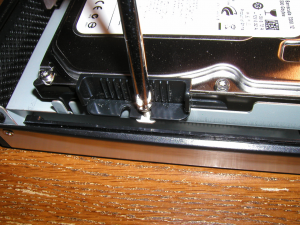
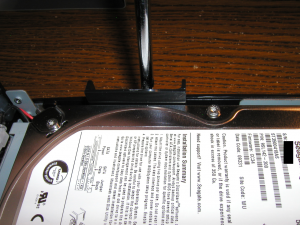
And here’s a couple of shots of me tightening the rails. Make sure not to snug them down until both screws have been tightened into place or you’ll have trouble getting the second screw in!



Leave a comment