Finishing the Appearance
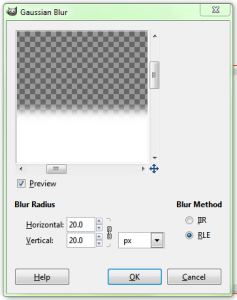
I promised magic, and I’ll deliver, too. I briefly mentioned in the introduction to this tutorial that you wouldn’t need to use the gradient tool to create a soft effect around the edges of our box. I wasn’t lying. Guess where all the magic is?
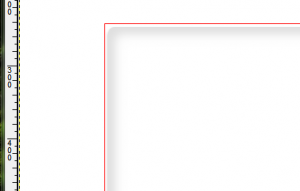
That’s right–the only magic here lies inside the Gaussian blur tool. But make certain you right-click on GiMP canvas first and click on Select > None. If you skip this step, the gradient plus blurred layers will not appear as expected. If you do everything right, the box should now look something like this:
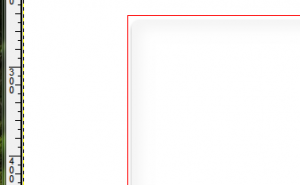
If the gradient layer appears to bleed through a little more than you like, select it and adjust its opacity. With my selection of colors and an opacity of 30%, the finished product looks something like this:
At this point, you can hide the bounding box layer and admire your work. In a future follow on to this post, I’ll be highlighting techniques you can use to transfer the “soft box” we just created from GiMP to the web and use it to offset something like blog posts from the rest of a web site’s text.
Enjoy!


Leave a comment