From the Blob to Worn Lettering?
At this point, our hard work has yielded little more than a blob of Swiss cheese with the exception that it’s black. It’s still a blob, however. But never fear! We’re right at the end. All you have to do is make some adjustments to the individual layers.
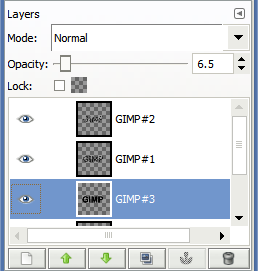
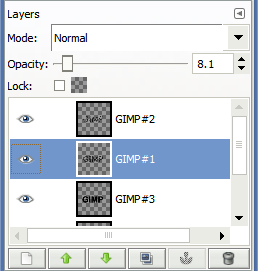
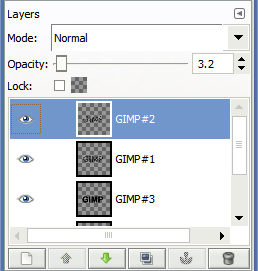
If you’ve been following this tutorial to the letter, your layers should look something like mine. If not, adjust each one until they look something like the following. First, here’s our blurred layer:

And here’s our original layer prior to cutting out a lot more holes:

And finally, here’s the layer that we finished last. If you skipped the water mark section, you won’t have this third layer (#2). If not, just ignore this part!

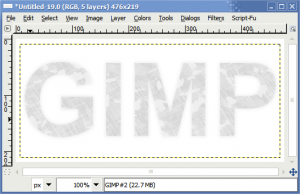
After all this hard work you’ll now have something like this (click the picture for a larger version):
Thanks for hanging in there through all six pages of this tutorial! My next installment will show how to do a very similar process without having to muck about too much with the layer mask. In GIMP, the layer mask is fairly limited–you can’t do much to it as far as adding additional layered images to tweak the transparency. Fortunately, I have a way to take advantage of both layers and the layer mask to do something quite similar with a little more work.
Enjoy!
You can download the XCF file (136KiB) to examine it, if you like.


2 Responses to “Scratched/Worn Text Tutorial in the GIMP”
Wow that’s a lot of screenshots!
Thanks for the step-by-step, Ben! That tutorial makes for a very cool text effect!
Yeah, I think I went a little overboard. All told I think I finished with 56 screenshots of the actual work. Thankfully, I was able to trim it down significantly.
Leave a comment