
Soften the Box… a Little
Remember the gray layer I kept referring to as our “gradient layer?” We’re finally going to get around to using it. First, click the eye column so it’s visible, right-click on the layer, and click on “Alpha to Selection”:

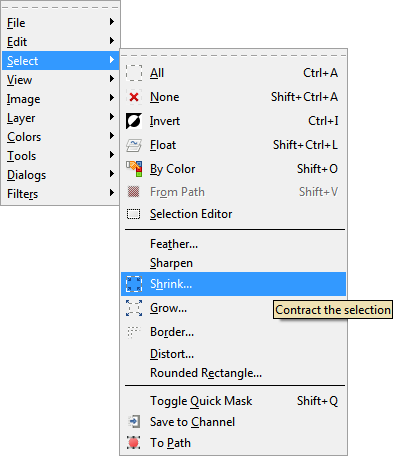
Alpha to Selection will generate a selection around the borders of the layer we’ve selected. This is handy, because we’re going to use a forth layer to generate a pseudo-gradient effect based upon our selection. Remember the shrink selection tool? Use it now but this time, pick a higher number such as 10 for the size:

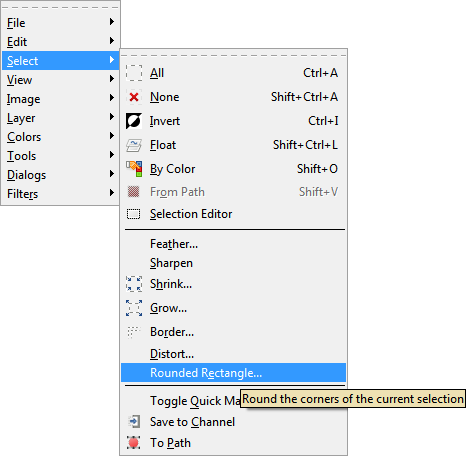
You’ll also need to use the rounded rectangle tool once again since shrinking rounded selections in GiMP 2.4.5 doesn’t retain the selection shape particularly well. Oh, and create a new transparent layer.
You should now have four rounded box layers in approximately this order: The shadow layer (black, but now at 30% opacity), the base color layer (white), the gradient layer (gray), and a new blank layer with a selection inset by about 10 pixels. With the new (empty) layer selected, fill in the selection with the same color you picked for the base color. Our base color is white, so we’re going to fill our selection in with RGB hex #ffffff. It should look something like this when you’re done:

We have now arrived at the magical moment that will finalize the “soft” feel of our soft box. Let’s take a brief break and continue on the next page.


Leave a comment