Putting the Case On: A Few Notes
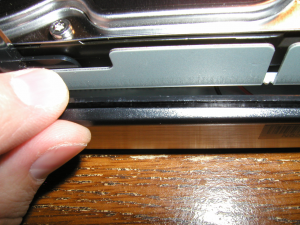
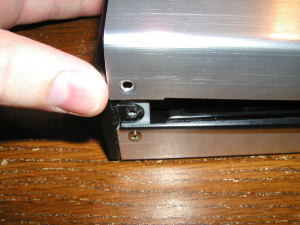
Unlike my previous enclosure, this one has some black plastic molding that adds a nice flare to the brushed aluminum. Unfortunately, it’s a huge pain to get lined up! Here’s what I mean:
See the groove? The aluminum casing will have to slide into that before it fits snugly. If you don’t align the molding correctly, you’ll never be able to get the screw holes lined up on the outer casing.
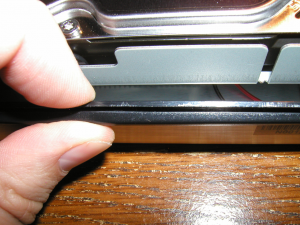
Thankfully, the solution is pretty simple. Grab the molding toward the middle and pull it down:
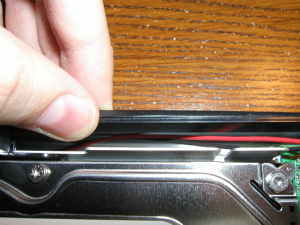
And do the same to the top:
Then you’re ready to get the first side into place. Make sure not to hold the enclosure by the molding or you’ll bend it back into place, rendering it impossible to press the case down into the groove! And you’ll have to take the lid off again and fiddle with the molding.
The second side is almost on. Again, be careful not to squish the molding back into the case!
Here’s a top-down (or is that bottom-down?) look at the enclosure:
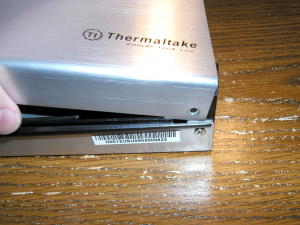
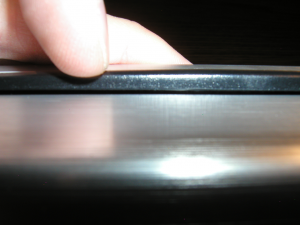
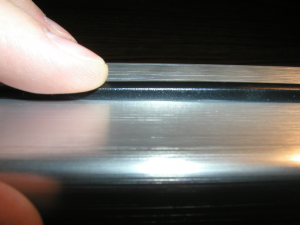
Notice how the molding is sticking out enough to see the groove in the middle? If you’re assembling one of these cases and the molding has disappeared beneath the brushed aluminum, you’re going to need to take the bottom panel back off, pull the molding out, and try again. But pulling the molding out first, you can control the extent of its movement into the case while applying pressure on the panel:
Here’s a shot with the molding in place:
You’ll see that my index finger is placed directly on top of the molding, and I applied gentle pressure to the molding while squeezing the panel into place. You’ll feel (and hear!) a quiet “pop” as the aluminum panel falls into place.
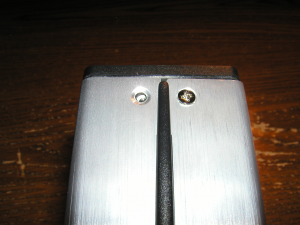
Unfortunately…
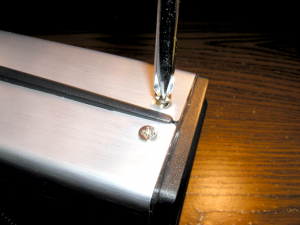
…on my enclosure, this is the only hole that doesn’t line up perfectly. But all it takes is a slight squeeze while screwing it into place:
And that’s it! You’ve assembled an external USB or eSATA self-cooled hard disk enclosure.
Isn’t that easy?



Leave a comment